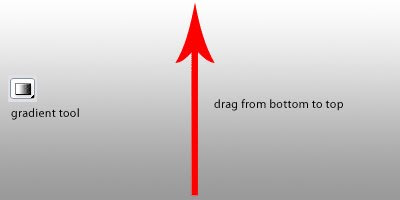
1. Create a new layer, rename as gradient_background, with gradient tool, set the foreground color to #999999 and the background color to white (#ffffff). Drag from the bottom to the top of the stage and you may get something like this:

2. Select the horizontal type tool and write something there and here I write LOONDESIGN. I use supersonic font for this typing with white color.

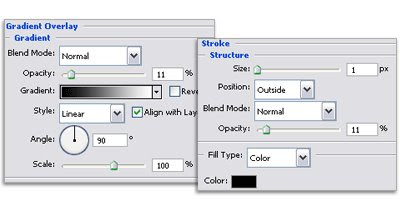
3. Double click on the text layer to bring out the layer blending option and we need to set the stroke and gradient overlay option like below:

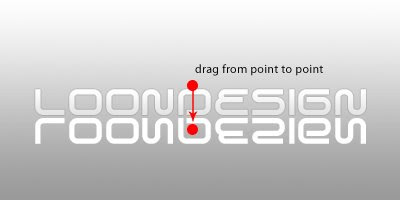
4. Ctrl + J to duplicate the text layer then right click on the copy layer and select Rasterize. Right click again and select clear layer style. Ctrl + T to bring out free transform option and right click on the stage and select flip vertical. Adjust the position and you will get something like this:

5. Select the rasterized layer again, press "Q" on your keyboard to use the Quick Mask Mode function. Select gradient tool, drag by holding shift like shown below. Press "Q" again and press Delete once. Set the layer opacity to 60%.

6. Create a new layer below all layers but above the gradient_background layer. Take Elliptical Marquee Tool and draw a circle as the image below shows.

7. Fill it with black color then go to Filter > Blur > Gaussian Blur 2. Now adjust the layer to get the desired effect and change the Opacity to 30%. And you are done!

Now you can tune or set the text effect via the layer blending option and the gradient_background color with gradient tool. have fun!

Posting Komentar