1. We need to choose image, I picked up the one below, with a darker skin (to achieve better effect).
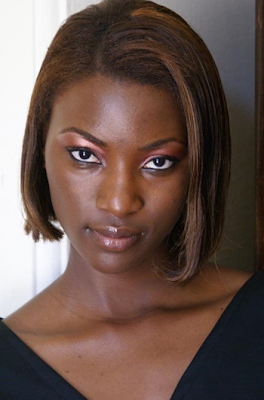
2. Now, we need to create the selection of area of face on which we are going to work. You can choose any selection method you want. For this image magnetic lasso would be a great time saving selection tool.
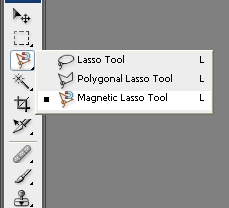
3. Using magnetic lasso tool, click on any starting point on the boundary of her face. Then just keep moving on sides of the skin area till you reach the starting point again.
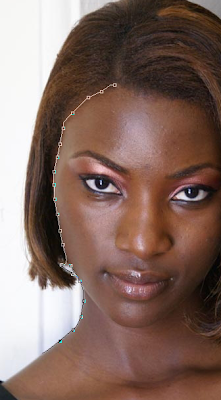
4. Once you complete it, this will convert into a selection as shown below.
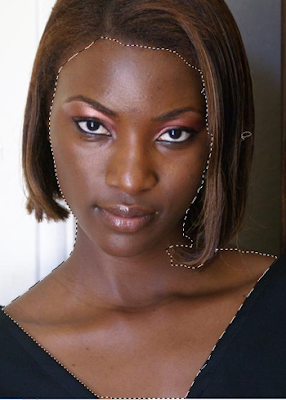
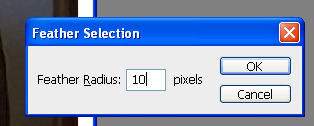
5. Now press Ctrl+Alt+D to feather the selection. Set Feather Radius to 10. Just like shown on picture below.
The selection will smoothen up as shown below.
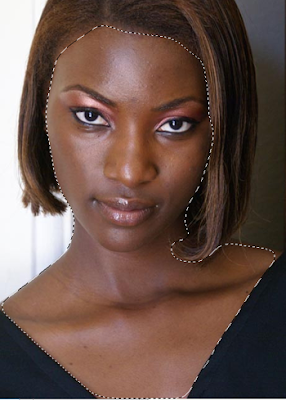
6. Now we need to copy and paste our selection in a new layer. Do that by pressing Ctrl+C and then Ctrl+V, and you should have a new layer containing only skin we’ve selected before.
Stay on this new layer and go to Image menu select Adjustments>>Brightness/Contrast. (see the picture below)
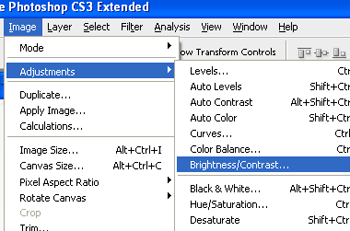
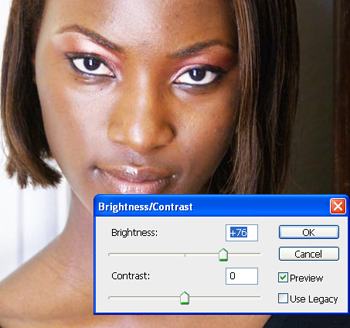
Increase brightness to a high value. Tick the “Preview” box (if it isn’t ticked already) and you will see the effect in action in real time. See the image below to check settings I used.
Note that, this values may not be perfect for your pictures so it’s the best for you to choose them as you wish or like
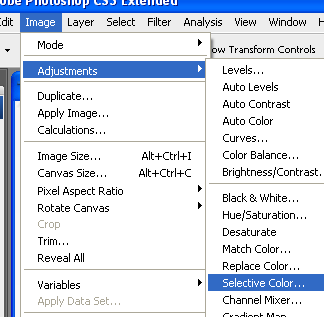
7. From Image menu select Adjustment>>Selective color (just like shown on picture).
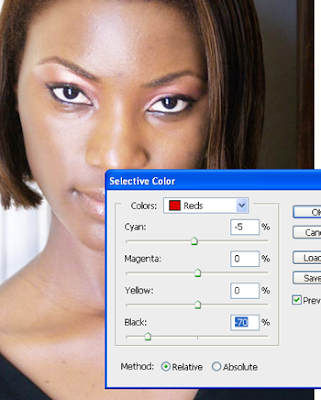
Make sure, selected color range is Reds on top. Then reduce Black to a large negative value as shown below. You may also try reducing cyan too and see in the preview if its lightens the skin color.
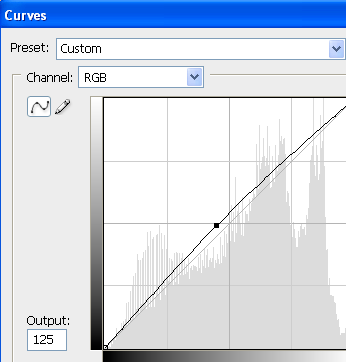
8. Again from Image menu select Adjustments >> Curves or press Ctrl+M to open curves editor. Click in center and drag a little upwards. Don’t overdo this or else the image will look burnt. Take a look at the picture below.
Now in Layers window duplicate the face layer and go to Image > Adjustments > Brightness/Contrast. Increase brightness to an insanely high value.
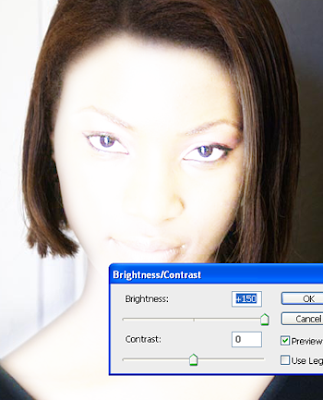
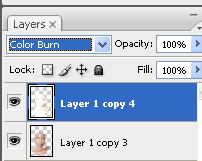
Go to Layers window once again and change layer mode (on duplicated layer) to Color burn.
And voila! You’ve done it.
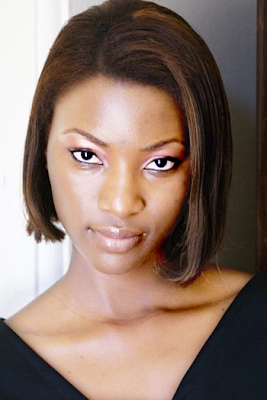
Here’s my result.
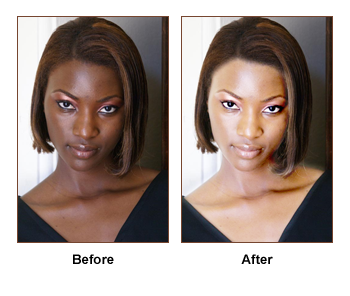
A closer look (before & after).

Posting Komentar