
This tutorial will show you how to use lighting effect to emphasize her face, skin and hair. Before that, some nice tips for retouching will be mentioned
Before we start, let's have a look at what we'll be retouching:
Before:
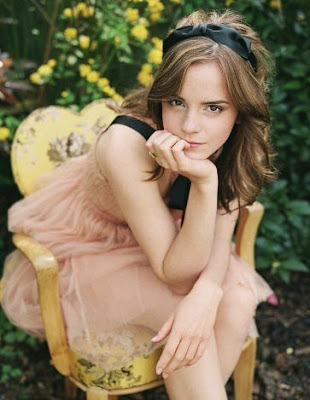
And after:
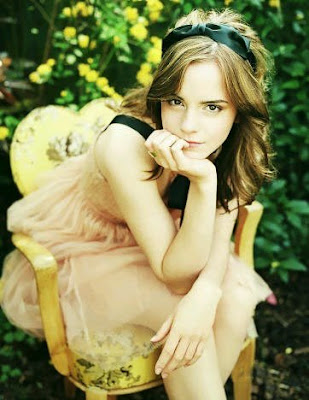
Download the original image and we are ready to go!
Step 1:
The original photo is a bit dark and her skin is not bright and lovely enough. In this case, we can use Channel Mixer tool to enhance the colors separately. You can find this tool at the bottom of Layers tab
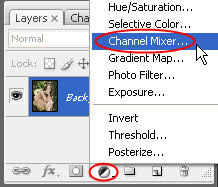
If you are new to this tool, I wish to explain more about it. As you knew, a photo is based on three main colors (in RGB mode): red, green and blue. With the Channel Mixer tool, you can manipulate these raw channels separately. Notice that when choosing Channel Mixer tool, you will see there are 3 options in the Output Channel drop-down box corresponding to 3 main colors. And you can also notice that with each main color, the slider of that color will always be set to 100%, by default. For example, when you choose Red from Output Channel, you can see the Red slider are at 100% (while Blue and Green are at 0%). And by moving these sliders left or right, you can decrease or increase the amount of that color in the corresponding Output Channel.
With this photo, we should mainly increase the amount of Green with the settings below:
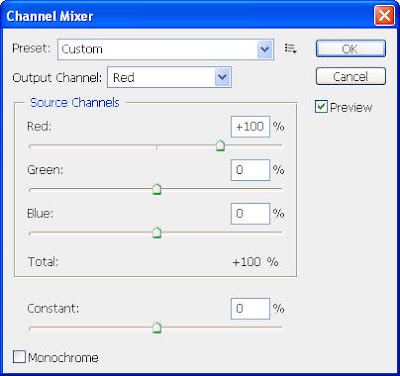
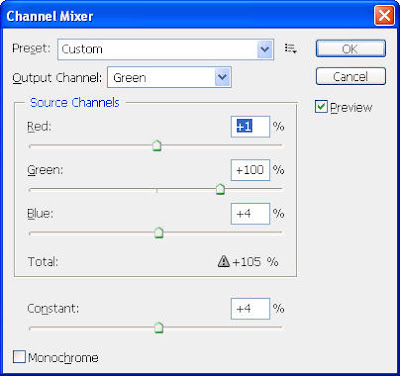
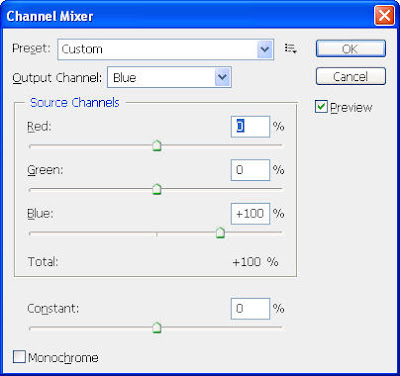
Our photo now looks better
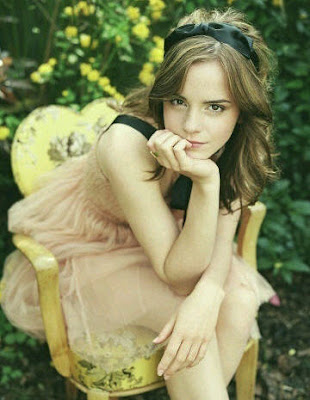
Step 2:
Press Ctrl-Alt-Shift-E to create a flatten image which is the result of the under layers. In this step, we will smooth her skin a bit by going to Filter>Blur>Surface Blur, set the Radius of 2 pixels and Threshold of 4 pixels
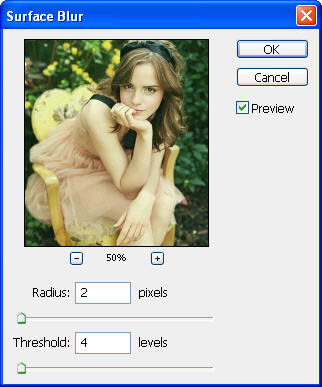
Maybe you will not see any big changes but let's have a closer look...
Before:
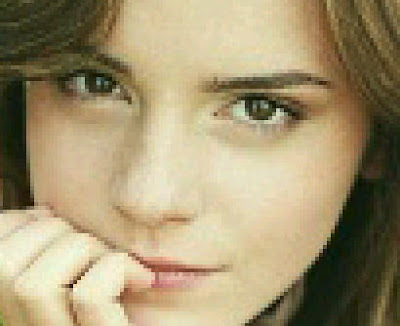
After blurring:
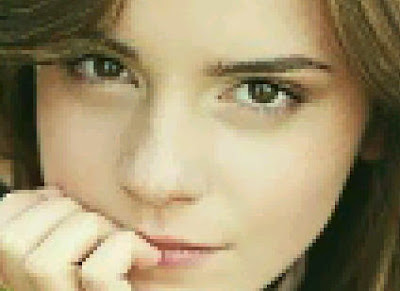
By using this tool with a small Radius and Threshold, you can make subtle changes without making it look fake
Step 3:
Go to Image>Adjustments>Curves to brighten our photo a bit
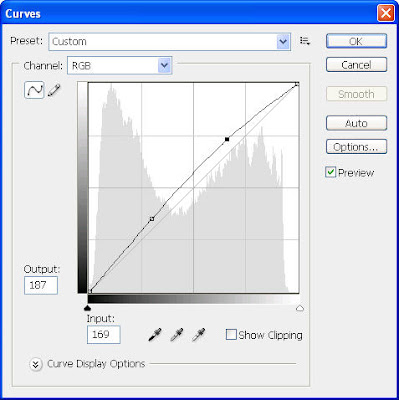
We are almost done, the photo now looks much better:
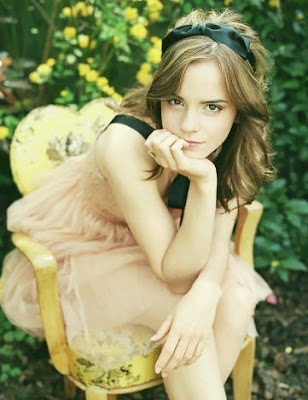
Step 4:
The last thing we need to do is to add lighting focus to emphasize her beautiful face. Press Ctrl-J to duplicate the current layer and go to Filter>Render>Lighting Effects and use these settings:
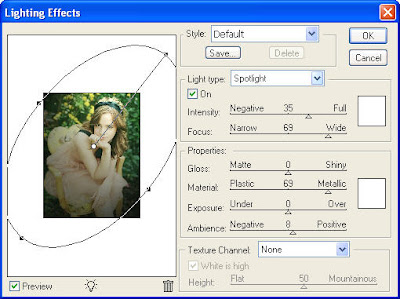
Then change the Blending mode of this layer to Soft Light to make the colors "softer". Let's have a look at the result again:

Retouching photo is fun! And with the Channel Mixer tool and Lighting Effects filter, we can greatly enhance the photo from its raw color channels and set focus on what we want without destroying the original image.

Posting Komentar